Sunday, January 31, 2016

The Wonderful World of Polenta


I've known about polenta for only about a year now but it is becoming one of my go-to sides. It goes well with everything and its subtle, sweet taste allows you to flavor it a variety of ways. Because last night's Beef Wellington was pretty involved, I decided to choose a simpler recipe today-- and polenta is a GREAT meal to have if you're on a college budget. Corn meal is cheap and it expands so you get more bang for your buck!


Polenta is most commonly boiled and served like mashed potatoes. But it doesn't end there. Today I'll show you how to make it, bake it and fry it. Enjoy!

Ingredients: Serves 8

Corn Meal--- 1.5 CUPS
Water--- 6 CUPS
Salt and Pepper--- Season to Taste
Olive Oil--- 2 TBSP
Parmesan Cheese--- 1/4 to 1/2 CUP (depending on how much you like parm!)


STEP BY STEP:

  • 1. In a large pot, bring water to a boil

  • 2. Add oil, corn meal, salt and pepper and reduce water to a simmer


  • 3. Stir, Stir, Stir and Stir some more. You need to continually stir until all the extra water evaporates and leaves you with creamy polenta

  • 4. Once creamy, pour into a bowl and let cool for 5 minutes before serving

  • 5. That's it! You can always add more cheese to melt in but overall polenta is that easy


  For Baked Polenta:
  • 1. Make polenta (follow above recipe)

  • 2. Preheat oven to 350F

  • 3. Once finished pour into an oven safe square baking dish (7" x 7"), oil bottom and spread evenly with spatula-- can be thick or thin

  • 4. Bake for 15 minutes 

  • 5. Remove from oven and cut out shapes ( I typically use a cup and make "polenta patties"


For Fried Polenta:
  • 1.  Make polenta (follow above recipe)

  • 2. Transfer to rectangular dish with oiled bottom and spread evenly. Should be about 3/4" to 1" thick.

  • 3. Cover with plastic wrap and store in the refrigerator for 2 hours (this lets it firm-up nicely)

  • 4. After time has passed, uncover polenta and transfer to a cutting board. It should just plop out if you turn the dish upside down.


  • 5. Cut into thick rectangles  

  • 6. Heat 11" pan to Medium-High and oil once hot.

  • 7. Add polenta "fries" to pan and cook on all 4 sides until they are crispy and a light brown.

  • 8. Once polenta fries are finished serve with marinara sauce or wrap in prosciutto!! 


Saturday, January 30, 2016

My Take on Beef Wellington


At times, cooking is like a sprint (think Rachel Ray's 30 minute meals) and other times, cooking can be a marathon. I found this dish is a combination of a lot of little recipes which come together to make an amazing dinner.

I've been out of treatment for a little over a month and I've been looking for a way to celebrate just as much as I've been looking for a challenging dish to make. Then Beef Wellington kept popping up throughout my life. This past week I've seen Beef Wellington made on Hell's Kitchen, I've stumbled upon a recipe online and I think I even had a dream about it a few nights back. I figured these had to be signs so I did my homework and hit the books- literally.

I went to the cook book section of the library (3rd Floor Paterno) and pulled out every book that I thought would have a Beef Wellington recipe inside. I didn't even bother finding a desk, I just laid out each book in the aisle between the two book shelves. The beef recipes were all similar for the most part but I was looking for the perfect puff pastry recipe. Everyone I asked had never made a puff pastry and some people told me to just buy it in the store. I got the sense that this pastry was difficult to make so I needed to find a chef to make it easy for me. And then I found Julia Child. In her 2nd Volume of Mastering The Art of French Cooking, Julia helped me step by step. The night before, I made a "practice" puff pastry just to make sure I knew what I was doing the next day

As much as I want to make easy recipes for college students I couldn't help but go all out on this recipe. Filet mignon was (alot) more expensive than I thought but it was definitely worth it. It's always nice to have beef that isn't dining hall quality anyway!!

** I should also mention that I didn't make a mushroom duxelle with this recipe. Instead, I made a stuffing of pureed okra, onion, and garlic.

So whether you want to celebrate a special occasion or just want to challenge your cooking skills, try my version of Beef Wellington

Ingredients:

Puff Pastry--- Click HERE for recipe
Eggs (for egg-wash)--- 2 (large)
Water (for egg-wash)--- 1 TBSP

For Okra stuffing:

Okra--- 1 LB
Onion--- 1/2 CUP (Chopped)
Garlic--- 2 Cloves (Minced)
Vodka--- 2 OZ

For Beef:

Tenderloin/ Filet Mignon--- 1 LB
Prosciutto--- 1 LB
Olive Oil--- 2 TBSP
Salt and Pepper--- Pinch of each
Dijon Mustard--- 2 TBSP


STEP BY STEP:

  • 1. **Make a puff pastry** Click HERE for recipe

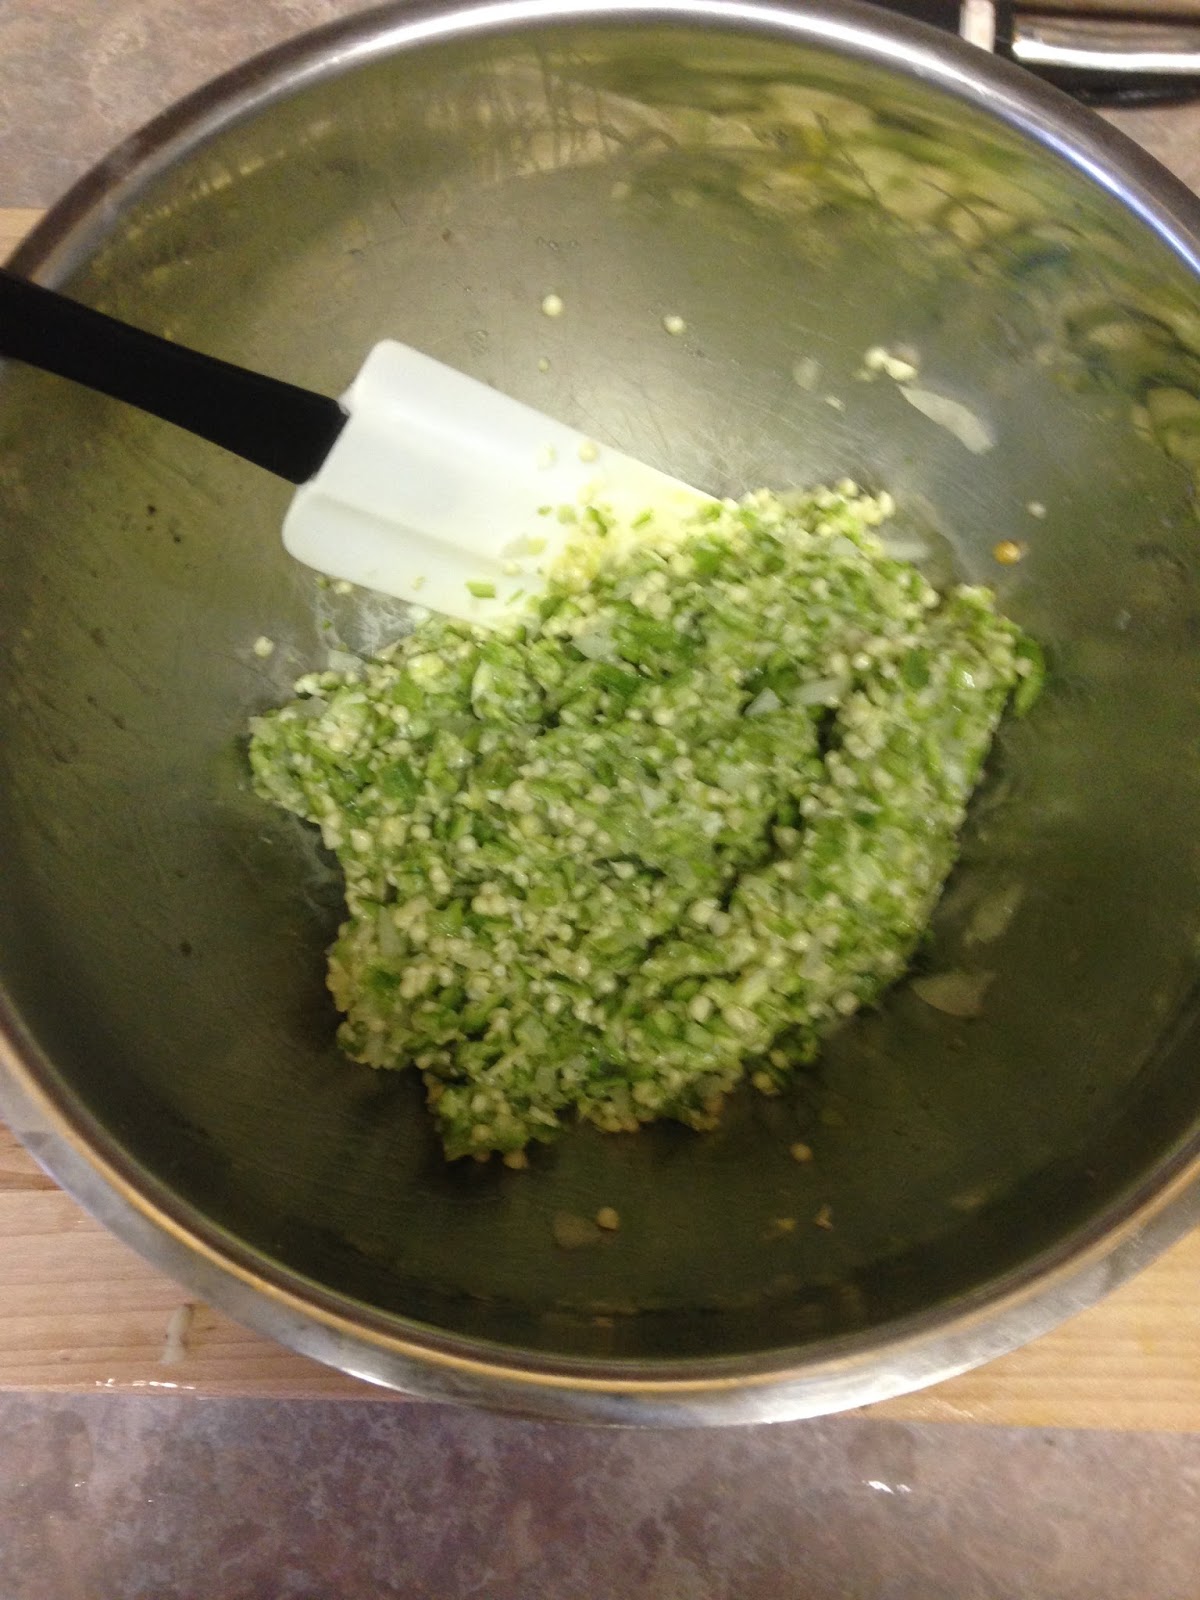
  • 2. Chop okra into circles and put into food processor

  • 3. Chop onion and mince garlic. Add both to food processor.

  • 4. Blitz okra, onion, and garlic in food processor until they form into a paste

  • 5. Heat an 11" pan to Medium-High. Once hot add okra mix and vodka until and fry until moisture has cooked off

  •  6. Spread out a sheet of plastic wrap and shingle enough prosciutto to be able to cover tenderloin

  •  7. With a rubber spatula, spread okra mixture over the prosciutto

  • 8. At this point, preheat oven to 425F

  • 9. Heat another 11" pan to Medium-High

  • 10. Season beef with salt and pepper

  • 11. Once pan is hot add olive oil and sear beef on all sides. A dark brown/grey crust should form around the steak. By searing the meat you only cook the outer parts of the meat---leaving the middle uncooked.


  • 12. Remove steak from pan and brush with dijon mustard.

  • 13. Place beef in the middle of the prosciutto/okra layer and roll prosciutto to fully cover the meat. (Should be a loaf/cylinder shape) Cover with plastic wrap and refrigerate for 5 minutes. 

  • 14. Roll out puff pastry to about 1/4" thickness 


  • 15. Remove prosciutto/beef combo from plastic then wrap pastry around to enclose the meat. Cut off any excess pastry and make sure to keep the seam-side on the bottom.

  • 16. Make egg-wash (Eggs+ Water) and brush edges to seal the pastry.


  • 17. Take loaf and wrap in plastic. Refrigerate from another 5 minutes. (This allows for the pastry to firm-up to a nice shape.)

  • 18. Unwrap loaf and brush with egg-wash to give the pastry a nice brown color when baked. Before egg-wash you can score the loaf with the back of a knife and create decorative patterns.


  • 19. Line a baking sheet with parchment paper, then bake loaf at 425F for 35 to 40 minutes.

  • 20. The Wellington should have a golden brown crust and should let cool for 5 minutes before serving. With a serrated knife, cut generous slices of the beef. 


I had a blast making this dish and the tenderloin was one of the best pieces of steak I've ever had-- I also really liked the challenge so feel free to suggest another dish you'd like to see me try!! 

How to Make a Puff Pastry

 
Puff Pastry is very versatile and can be used in entrees as well as desserts. It seems that some consider this pastry difficult to make but it's actually pretty simple-- just time consuming. I learned this recipe from Julia Child's Mastering the Art of French Cooking (Vol. 2) when I made Beef Wellington. But puff pastry isn't just limited to Wellington. It can be great for Pigs-In-a-Blanket, Tarts, and Turnovers. Enjoy!!    


Ingredients:

All Purpose Flour--- 2 3/4 CUPS
Cake Flour--- 3/4 CUP
Unsalted Butter--- 1/4 CUP (Half a Stick) for Dough, 12oz (3 additional sticks) for filling
Ice Water--- 1 CUP
Salt--- 2 TSP

STEP BY STEP:


  • 1. Combine both flours as well as salt

  • 2. Cube half a stick of butter and work into dry ingredients 


  • 3. Add water to mix and knead until a ball of dough is formed

  • 4. Lightly flour the dough and press down firmly

  • 5. Cover in wax-paper and refrigerate for 45-60 minutes inside a gallon bag

  • 6. Cube 3 sticks of butter and flatten with a rolling pin. Butter should be soft enough that it can spread but not too soft that it is runny. If it becomes too soft you can refrigerate it for 5 minutes. 


  • 7. Remove dough from bag and roll into a rectangle (should be rolled thin) I use a pizza cutter to make straight edges.

  • 8. Spread butter to cover 2/3 of the dough's surface but be sure to leave about a 1/2" space clear around the edges

  • 9. Fold (A) the uncovered 1/3 end to the middle of the dough  then fold (B) the other end to cover your previous fold

(A)


(B)
  • 10. Rotate dough 90 degrees clockwise and roll out into another rectangle

  • 11. Take both ends of the dough and fold (C) to the middle. Next, take the folded ends and fold (D) together; similar to a book.

(C)


(D)
  • 12. Cover with wax paper and plastic wrap and refrigerate for 45-60 minutes.

  • 13. After the time has passed repeat steps 7 through 11. After the 4th fold you'll have 72 layers of butter. 

  • 14. Cover and refrigerate for a minimum of 2 hours. After time has passed, the pastry dough is ready to use however it can be refrigerated or frozen for late use. When ready to use just flatten dough and roll out to desired shape.